


How to Use Hiking Poles for Downhill Knee Relief?
For many hikers, the triumphant view from the summit is quickly tempered by the dread of the descent. Downhill hiking places immense strain on the knees, with studies showing that joint forces can reach three to four times your body weight with each step. This eccentric load is a primary cause of pain, inflammation, and long-term wear. However, when used with deliberate technique, hiking poles are one of the most effective tools for mitigating this impact, offering genuine knee relief and transforming your descent from a painful ordeal into a controlled, confident journey.
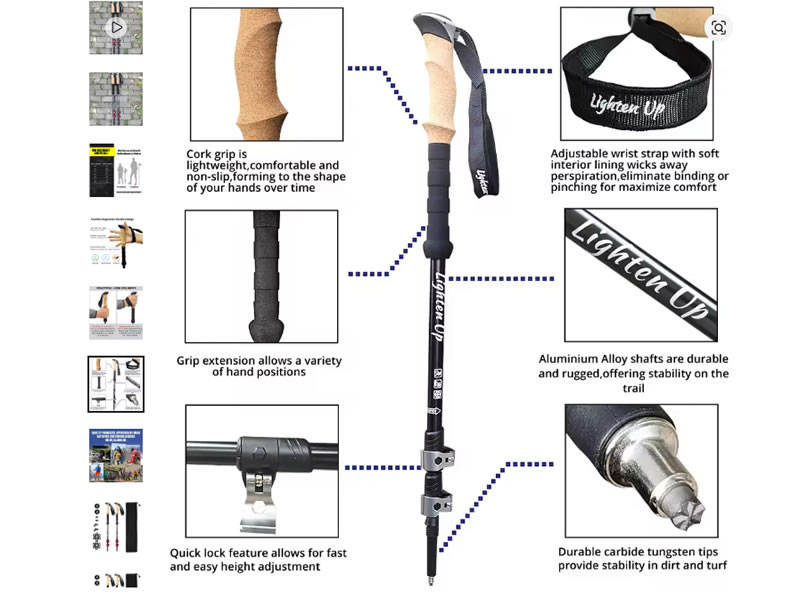
Recommended trekking pole purchase link: https://s.click.aliexpress.com/e/_c4M7OWaN
The Biomechanics of Downhill Strain and How Poles Intervene
On a descent, your quadriceps and knee ligaments act as brakes, working eccentrically to control your body's momentum against gravity. This creates micro-tears in muscle fibers (the cause of next-day soreness) and compresses the knee joint. Hiking poles intervene by:
- Load Distribution: They transfer a significant portion of your body weight (up to 25% per pole) through your arms and shoulders and into the ground, effectively lightening the load on your legs.
- Creating a Braking System: Properly planted poles act as forward anchors, allowing your upper body to absorb momentum and control your speed, reducing the demand on your quads as brakes.
- Enhancing Stability: By providing two additional points of contact, they prevent slips and minor corrections that cause sudden, jarring impacts on the knees.
The Step-by-Step Technique for Maximum Knee Protection
Mastering this specific sequence is crucial for transforming your poles from mere stabilizers into active shock absorbers.
1. Pre-Descent Preparation: Lengthen Your Poles
Before beginning the descent, lengthen each pole by 5-10 cm (2-4 inches) from your flat-ground setting. This adjustment is critical. Longer poles allow you to plant the tip on the trail ahead of you while maintaining an upright torso. A hunched posture shifts weight forward and increases knee strain.
2. The Planting and Weight Transfer Sequence
- Plant Ahead and Wide: As you step down with your right foot, simultaneously plant the tip of your left pole firmly on the ground ahead of you and slightly to the side. The pole should be at an angle, not vertical. This forward placement is key—it creates a stable point to move toward.
- Engage the Strap and Bear Weight: As your body moves forward over the planted pole, deliberately transfer weight through your hand and down the strap. Do not just tap the pole; use your arm to bear a meaningful portion of your weight. This is the moment of knee relief.
- Control the Descent: Let the pole act as a brake, controlling the speed of your descent as you smoothly step past it. Your arm should feel engaged, supporting your body's downward motion.
- Alternate Rhythmically: Maintain the opposite arm/leg rhythm (right foot, left pole). On very steep or technical sections, use a double-pole plant: plant both poles firmly ahead for maximum stability, then take two or three controlled steps down to them.
Pro Tips for Enhanced Effectiveness
- Angle for Traction: On loose terrain, plant your pole at a sharper rearward angle to prevent slipping and improve braking power.
- Short, Quick Steps: Combine pole use with shorter strides. Longer steps increase braking demands on the knees.
- Focus on Core and Posture: Keep your core engaged and your head up. Look ahead at where you will plant your poles, not directly at your feet. An upright posture aligns your skeleton for optimal force distribution.
- Pre-Descent Pole Adjustment: Make adjusting your poles part of your ritual at the top of a climb, just as you would hydrate or layer clothing.
Common Mistakes That Negate Knee Relief
- Poles Too Short: This forces a hunched posture, rendering the poles ineffective for load-bearing and often increasing knee bend.
- Tapping, Not Planting: A timid pole placement provides balance but does nothing to bear weight. Commit to a firm, load-bearing plant.
- Poor Strap Use: Without using the strap correctly (hand from below, pushing through the palm), you cannot efficiently transfer weight and will quickly fatigue your grip.
- Planting Beside the Foot: If the pole tip lands next to your current foot, it's too late. It must be ahead to act as a brake for the upcoming step.
Conclusion: A Proactive Strategy for Joint Health
Using poles for downhill knee relief is not a passive act; it is an active, engaged technique. By intentionally lengthening your poles, planting ahead with authority, and committing to weight transfer through your arms, you create a dynamic, four-point suspension system for your body. This strategy directly reduces the crushing eccentric load on your quadriceps and knee cartilage. For hikers with existing knee concerns or those simply seeking to preserve their joints for a lifetime on the trail, this method is not just a tip—it is an essential skill. Embrace the technique, and descend with power, control, and comfort.


