


How to Pack Hiking Poles on a Backpack?
Packing your hiking poles efficiently on your backpack is a small but crucial trail skill. Done correctly, it keeps your hands free, protects your gear from damage, prevents snagging on vegetation, and ensures the poles are secure and accessible for your next use. Improper attachment, however, can lead to lost poles, torn pack fabric, or an unbalanced load that fatigues you prematurely. This guide covers the most effective and secure methods.
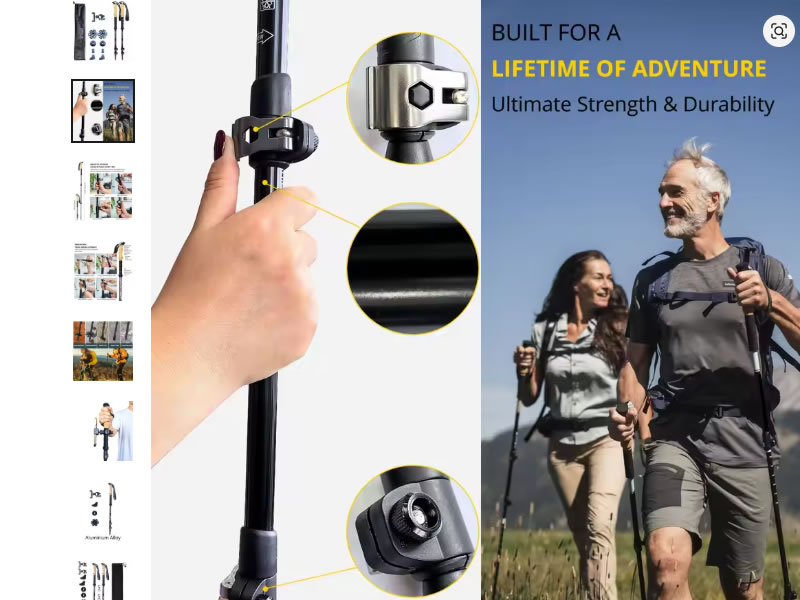
Recommended trekking pole purchase link: https://s.click.aliexpress.com/e/_c4M7OWaN
Before You Pack: Preparation is Key
- Collapse Fully: Shorten all sections of your trekking poles to their minimum length.
- Secure the Tips: Always cover the sharp carbide or steel tips. Use the included rubber trekking baskets or protective caps. If missing, improvise with cork, a thick rubber band, or even a child's small sock. This prevents them from snagging your pack's fabric or accidentally poking you or a hiking partner.
- Bundle Them Together: Use the built-in velcro or rubber keeper strap on the poles themselves, or a separate strap, to bind the two poles together as a single unit. Align the grips and tips.
Primary Attachment Methods
Most modern backpacks are designed with pole attachment in mind. Look for dedicated features.
Method 1: The Side Attachment (Vertical Carry)
This is the most common and often most secure method, utilizing compression straps and loops on the pack's sides.
- Steps: Locate the tool/ice axe loops (often at the bottom of the pack's side) and the compression straps. Place the bundled poles grip-end down. Slide the grips through the bottom loops. Pull the poles up snug against the pack's side panel. Use the side compression straps to cinch the poles firmly in place, wrapping around both the poles and the pack body in an "X" pattern if possible.
- Best For: Most three-season hiking. Keeps poles low and centered for good balance, and protects tips from snagging overhead branches.
Method 2: The Front Attachment (Horizontal Carry)
This method uses the backpack's front daisy chains, gear loops, and horizontal compression straps.
- Steps: Place the bundled poles horizontally across the front of your pack, just below the lid. Weave the webbing of the front compression straps through the poles and back through the ladder locks, or use accessory cord/small carabiners to attach the poles to the daisy chain webbing. Ensure the straps are tight so the poles don't bounce.
- Best For: Scrambling or technical terrain where you need the sides of your pack completely clear. Also useful if your pack lacks side loops. Be mindful that poles across the front can limit access to hip belt pockets.
Method 3: Lash-On Method (For Packs Without Dedicated Features)
If your pack is minimalist, you can still secure poles effectively.
- Steps: Bundle the poles and place them vertically against the back panel or side of your pack, under the lid. Use the pack's main compression straps to lash them down tightly. You may need to criss-cross straps for security. For added stability, place the tip ends into a side water bottle pocket.
- Pro-Tip: Always do a "shakedown test": lean over and gently jump in place. If the poles shift or rattle, tighten the straps.
Special Considerations & Pro Tips
- During Air Travel: Always collapse poles and pack them inside your checked luggage. Do not attach them to the exterior of your bag, as they are highly likely to be damaged or torn off by baggage handling systems.
- Accessibility: If you anticipate frequently stopping to use your poles (e.g., on a rolling ridge), the side attachment is typically the quickest to deploy and stow.
- Balance Your Load: When attaching poles (or any external gear), try to keep the weight symmetrical. A lopsided pack will strain one side of your body.
- Mind the Grip: Ensure the pole handles are secured and won't swing up to hit you in the head. The side attachment with grips-down prevents this.
- Check for Interference: Confirm the attached poles do not block access to your backpack's main compartments, hip belt pockets, or water hose routing.
What to Avoid: Common Mistakes
- Loose Attachment: The number one cause of lost poles. Always cinch straps down firmly.
- Uncovered Tips: An exposed tip is a hazard to your pack's waterproof liner, your clothing, and other gear.
- Imbalanced Carry: Attaching only one pole haphazardly to one side.
- Hooking Grips on Pack Lid: This can seem convenient but often leads to the poles catching on branches and being ripped loose.
Conclusion: Secure Poles are Part of Trail Readiness
Properly packing your hiking poles is the final step in gearing up and the first step in ensuring a smooth, hassle-free hike. By choosing the method that best fits your pack's design and the day's terrain, you transform your poles from cumbersome items in your hands into streamlined, secure components of your kit. A well-secured pair of poles won't distract you, allowing you to focus entirely on the trail ahead, your next handhold, or the view you came to enjoy. Master this simple skill, and you’ll never have to worry about fumbling with loose gear again.


