


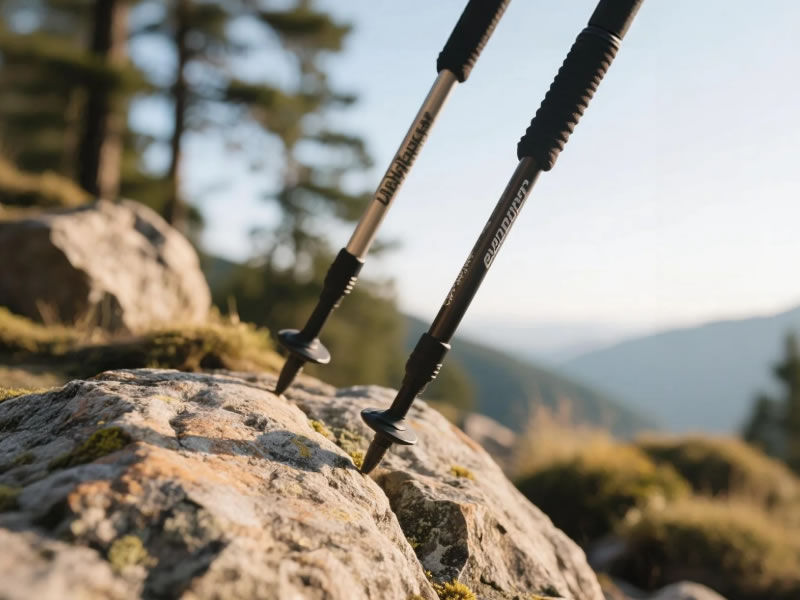
How to Prevent Hiking Poles from Slipping on Rock?
A sudden, unexpected slip of a hiking pole on rock is more than just frustrating—it can break your rhythm, waste precious energy, and, in exposed terrain, pose a genuine safety risk. Rock surfaces, ranging from gritty sandstone to polished granite slabs, present the ultimate challenge for pole traction. Preventing slips requires a multi-faceted approach combining equipment readiness, refined technique, and smart terrain reading.
Recommended trekking pole purchase link: https://s.click.aliexpress.com/e/_c4M7OWaN
1. Equipment Readiness: The Foundation of Grip
Your pole's ability to bite starts with its physical condition.
- Sharpen Your Tips: The tungsten carbide tip is designed for traction. A worn-down, rounded tip is a liability on rock. Regularly inspect them. While they can't be sharpened like a knife, replacing them when significantly flattened (before the metal stud is exposed) is crucial. Sharp, aggressive tips are your first line of defense.
- Utilize Rubber Tip Covers (Ascenders): This is a critical, often misunderstood tool. On smooth, hard rock surfaces like granite or marble slabs, a bare carbide tip may skitter and screech. The rubber trekking tip cover provides a high-friction grip similar to a shoe sole, offering superb temporary hold. They are ideal for short, slick sections, paved approaches, or indoor use. Remember: they wear quickly and reduce precision on uneven surfaces.
- Ensure a Secure Grip: Proper wrist strap technique is vital. A secure transfer of force through the strap allows you to apply steady downward pressure without a tense grip, helping the tip "settle" into imperfections.
2. Mastering Technique: The Art of the Plant
How you place your pole is more important than where you place it.
- The Angled Plant (Not Vertical): Avoid planting the pole perfectly vertical. Instead, aim for a slight rearward angle (if moving forward). This positions the force vector to push the tip into the rock's surface rather than down and potentially outward. On side slopes, angle the tip into the hill.
- Seek the Imperfection: Don't just plant on a blank, featureless surface. Visually target micro-features: a tiny crack, a grain differential, a small pebble, or a rough patch. Even the smallest irregularity can give the carbide tip something to engage.
- Pressure Over Impact: Place the tip deliberately and then apply steady, increasing pressure as you transfer weight. A hard, stabbing "tap" is more likely to bounce or skid. Think "settle and load" rather than "stab and go."
- The Double-Pole "Tripod" for Crucial Moves: When making a big step up or down onto an unstable rock, plant both poles firmly on secure ground first, creating a stable four-point (two poles, two feet) or three-point contact system. Test their hold with partial weight before committing fully.
3. Terrain Intelligence: Reading the Rock
Adapt your strategy to the type of rock underfoot.
- Gritty Sandstone & Rough Surfaces: Your carbide tips will excel here. Focus on precision planting for optimal hold.
- Smooth Water-Polished Stone or Granite: This is rubber tip territory. If you don't have covers, you must drastically reduce your reliance on the poles for weight-bearing. Use them primarily for light balance touches. Seek out any dried moss seams or crystalline intrusions for your carbide tip.
- Loose Scree or Talus: The danger is the rock itself moving. Use a quicker, probing plant to test stability before loading the pole. Often, a shallower, wider-angle plant is more effective here to avoid levering rocks loose.
- Wet or Icy Rock: Extreme caution is required. Rubber tips become nearly useless, and carbide tips offer minimal grip. Shorten your poles and focus on ultra-stable, multi-point contact. Consider that in such conditions, your poles may provide balance points but not reliable anchors.
What to Avoid: Common Slippage Pitfalls
- Over-Reliance on the Pole: On exceptionally slick rock, your feet and hands (when appropriate) are your primary tools. Don't trust a pole with your full weight if the tip isn't demonstrably locked in.
- The Upward/Pulling Motion: When trying to pull yourself up a step, a pole planted below you is prone to slip out. If you must use a pole for this, ensure it's jammed securely in a crack or feature, and use it for balance assistance, not full upward pull.
- Neglecting the "Feel": Pay attention to the auditory and tactile feedback. A solid plant has a firm "click" or dull thud. A skidding tip makes a distinctive scratching sound. Listen and feel, then adjust.
Conclusion: An Integrated Strategy for Confidence
Preventing pole slip on rock is not about a single trick but integrating preparation, technique, and judgment. Start with well-maintained equipment, keeping sharp tips and rubber covers accessible. Master the deliberate, angled plant, seeking micro-holds. Most importantly, learn to read the rock and adjust your expectations accordingly.
By adopting this holistic approach, you transform your poles from potential hazards into reliable partners on technical terrain. You'll conserve the energy once lost to jarring slips and regain the confident, rhythmic stability that makes rocky trails a engaging challenge rather than a precarious ordeal. Safety on rock is earned through mindful technique—and it begins with where your tip meets the stone.


