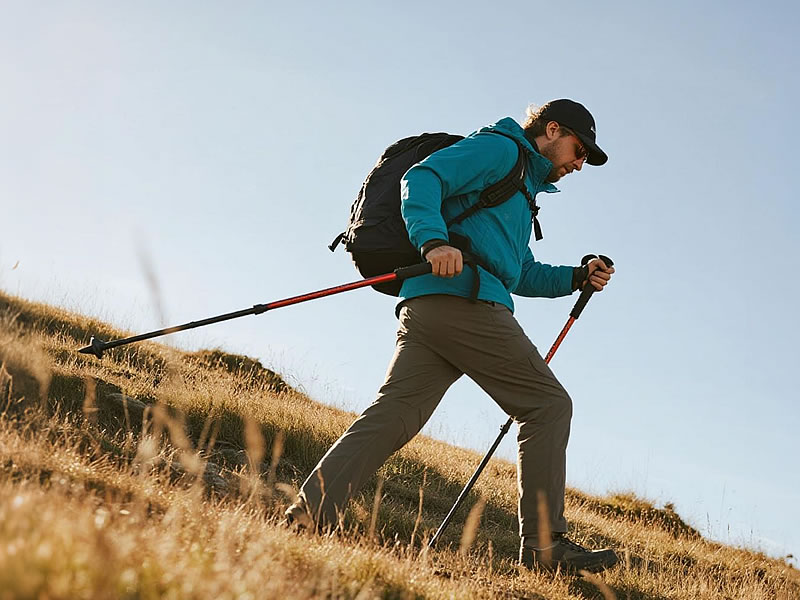
How to Walk Downhill With a Hiking Cane
Descending a trail can be surprisingly tough on your knees, ankles, and joints. While a hiking cane (or trekking pole) is often seen as an aid for uphill climbs, it is arguably even more valuable on the descent. Used correctly, it provides critical stability, reduces impact, and prevents slips. Mastering the technique will transform your downhill hiking experience, making it safer and more enjoyable.

Buy Link: https://www.aliexpress.com/item/1005010715431647.html
Why a Cane is Essential for Downhill Hikes
The primary benefits are stability and weight distribution. On a descent, gravity pulls you forward, increasing the strain on your quad muscles and the impact force on your knees with every step. A hiking cane acts as a reliable third point of contact, allowing you to offload a significant amount of that weight and shock absorption onto your arms and shoulders. This drastically reduces fatigue and joint pain. Furthermore, testing uncertain terrain like loose gravel or wet roots with your cane before committing your weight can prevent a dangerous fall.
The Right Technique: A Step-by-Step Guide
- Adjust Your Cane: For downhill sections, your cane should be longer than its uphill setting. A good rule of thumb is to adjust it so that your elbow forms a comfortable bend of around 30-45 degrees when the tip is planted on the ground a short step ahead of you. This allows for effective pushing and support without straining your shoulder.
- Grip and Plant First: Hold the cane in the hand that is opposite to your weaker or more cautious leg (e.g., if your right knee is sore, hold the cane in your left hand). As you prepare to take a step down, plant the cane’s tip firmly on stable ground slightly ahead and to the side of your body. This secures your anchor point.
- The Coordinated Movement: This is the key rhythm: Cane and Opposite Leg. Move the cane simultaneously with your opposite foot. As you step forward with your right foot, your left hand and cane should move forward and plant together. This creates a balanced, tripod-like structure as you transfer your weight onto the cane and your stepping foot.
- Maintain Proper Posture: It’s instinctive to lean back against the slope, but this is a mistake. It shifts your center of gravity backwards, making you more prone to slipping outwards. Instead, keep your torso upright and lean slightly forward, aligning your body over your feet. Keep your knees bent and take slow, deliberate, shorter steps to maintain control.
- Apply Pressure: Don’t just place the cane; actively use it. As you transfer your weight onto the foot that is stepping down, push down firmly through the cane handle. This push supports your body weight, controls your descent speed, and gives you confidence.
Common Mistakes to Avoid
- Using a Too-Short Cane: This causes you to hunch over and eliminates the mechanical advantage for support.
- Planting the Cane Too Far Away: It should be planted close enough for you to apply downward pressure effectively without overextending.
- Moving Cane and Same-Side Leg Together: This disrupts your balance and does not provide the stable cross-body support you need.
With practice, this technique becomes second nature. Your hiking cane will cease to be just a stick and will become a vital tool for propulsion, balance, and preservation, allowing you to tackle descents with confidence and protect your joints for many future adventures.


