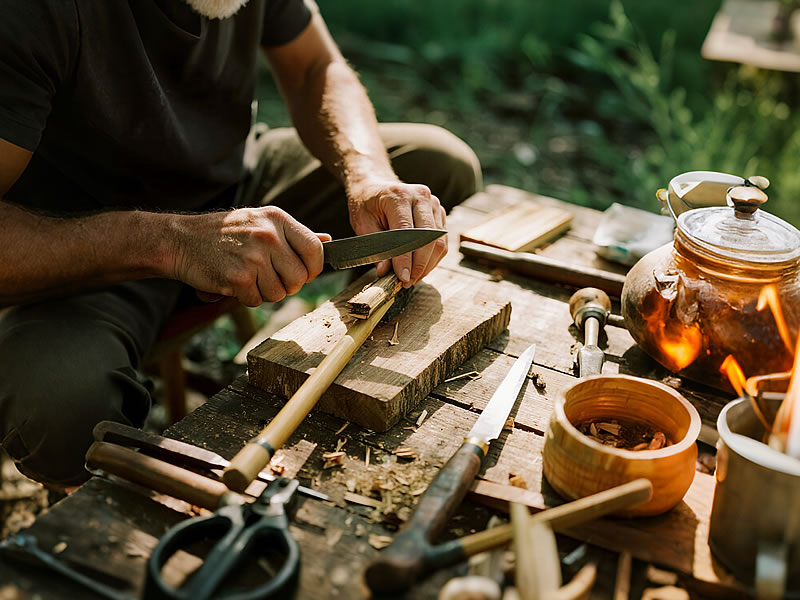
How to Make a Wooden Hiking Cane
There’s something deeply satisfying about crafting your own wooden hiking cane. More than just a functional piece of gear, a handmade cane is a personal statement, a project that connects you to the tradition of walkers and woodsmen, and a trusted companion that will support you on countless adventures. Creating your own allows for complete customization to your height and grip, resulting in a tool that is perfectly suited to your body and style. This guide will walk you through the process of transforming a raw piece of wood into a beautiful and durable hiking aid.

Step 1: Selecting the Right Wood
The journey begins in the woods. Your goal is to find a sturdy, straight-grained hardwood sapling or branch. Excellent choices include oak, hickory, maple, ash, or blackthorn, all known for their strength and shock resistance.
- Source Responsibly: Never cut from a live tree. Look for a "volunteer" sapling that needs thinning or seek out a perfect branch from recent deadfall.
- Inspect Carefully: The ideal piece should be about 1 to 1.5 inches in diameter, as straight as possible, and free of cracks, rot, or major knots. It should be roughly 6-12 inches taller than your desired final height to allow for trimming.
Step 2: The Drying Process
Green wood will crack and warp as it dries, so patience is essential.
- Season Slowly: Remove any small side branches with a sharp knife, but leave the bark on initially. Store the stick in a cool, dry, shaded place with good air circulation. To minimize splitting, you can seal the ends with a wax or paint.
- Waiting Period: Allow the wood to season for at least several weeks, though several months is ideal. The wood is ready when it feels lightweight and sounds hollow when tapped lightly.
Step 3: Shaping and Sanding
Once fully dry, the real crafting begins.
- Remove the Bark: Use a draw knife or a coarse wood scraper to carefully remove the bark. This reveals the beautiful grain beneath and helps prevent insects.
- Shape the Handle: This is the most important part for comfort. Carve and sand a smooth, ergonomic shape that fits naturally in your palm. A slight flare at the top can prevent blisters.
- Smooth Everything: Progress through grades of sandpaper, starting with a coarse grit (80-100) to remove tool marks and finishing with a fine grit (220+) until the entire surface is silky smooth.
Step 4: Adding a Finish and Personal Touches
A finish protects the wood and enhances its natural beauty.
- Choose a Natural Finish: Penetrating oils like tung oil or linseed oil are perfect. They protect the wood from moisture without creating a slippery surface. Apply multiple thin coats, sanding lightly between each, until you achieve the desired luster.
- Personalize It: Make it uniquely yours. Use a wood-burning tool (pyrography) to etch your name, a meaningful date, or topographic patterns. You can also wrap the handle with leather or paracord for a better grip and aesthetic appeal.
Step 5: Fitting the Tip
A proper tip is non-negotiable for safety and durability. It provides traction and prevents the wooden end from splintering.
- Select a Tip: Purchase a standard rubber cane tip (or "ferrule") from a medical supply store or online. Ensure the size matches the diameter of your cane's end.
- Secure It: roughen the end of the cane slightly with sandpaper for better adhesion. Apply a strong epoxy glue inside the tip before pressing it firmly onto the cane. Let it cure completely.
Final Safety Check
Before taking your new cane on a hike, give it a thorough inspection. Ensure the tip is secure, check for any hairline cracks, and test its strength on flat ground. A well-made wooden hiking cane is not just a project; it's an heirloom. With proper care, it will offer you steady support and carry the memories of your craft for years to come.


