


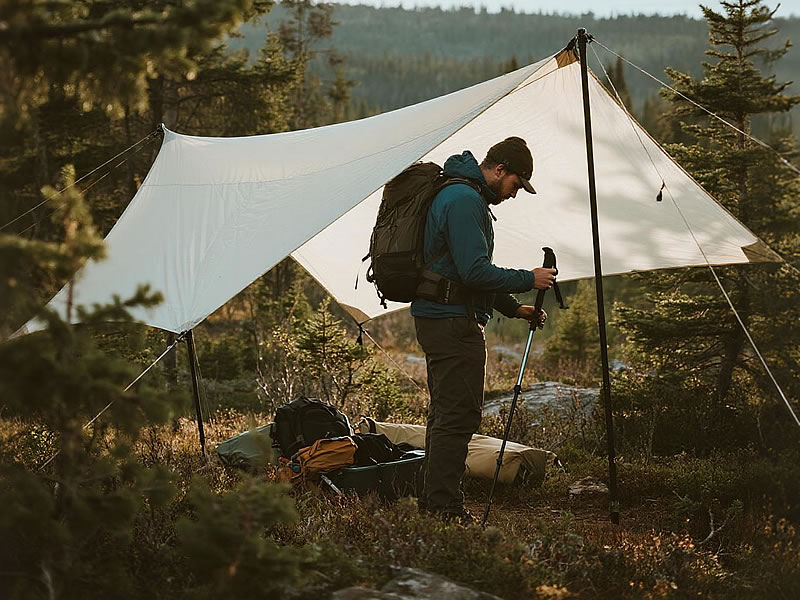
Setting up a tarp shelter with trekking poles
Mastering the art of pitching a tarp shelter with your trekking poles is a fundamental skill for ultralight backpackers, thru-hikers, and anyone looking to deepen their connection with the outdoors. This versatile system swaps the weight and bulk of a traditional tent for unparalleled adaptability, ventilation, and speed. Here’s how to transform your poles into a sturdy shelter frame.
Recommended trekking pole purchase link: https://s.click.aliexpress.com/e/_c4M7OWaN
1. The Foundation: Gathering Your Gear
Before you start, ensure you have the right equipment for a secure pitch.
- Your Tarp: A rectangular or cat-cut tarp with reinforced tie-out points (grommets, loops, or D-rings) along its ridgeline and edges works best.
- Trekking Poles: Adjustable poles are essential. You’ll be setting them to your desired height.
- Cordage: 25-50 feet of strong, lightweight cord (paracord or specialized guyline) for your ridgeline and guylines.
- Stakes: 6-10 lightweight stakes to secure the guylines and corners.
2. The Classic A-Frame Pitch: A Step-by-Step Guide
The A-frame is the most popular and stormworthy configuration for a quick, reliable shelter.
- Choose Your Site: Find a flat, clear area free of overhead hazards like dead branches. Note the wind direction; you may want to orient the narrow end into the wind.
- Establish the Ridgeline: This is the backbone of your shelter. Tie a length of cord between two solid anchors (trees, logs) or use a single pole at one end and a tree at the other. The ridgeline should be taut and positioned at your desired shelter height.
- Position Your Poles: If not using trees, extend your trekking poles to your chosen height (often 45-50 inches for sitting comfort). Carefully place the tip of each pole underneath the tarp’s central ridgeline tie-out point. The pole grips should be on the ground, and the tips should be pressing up into the tarp fabric. Pro Tip: Use rubber tips or the basket to prevent the pole from piercing the tarp.
- Secure the Corners and Guylines: Drape the tarp over the ridgeline. Start by staking out the four corners, pulling them taut but not overly tight. Then, attach guylines to the side panel tie-outs. Stake these out at a 45-degree angle away from the tarp. This creates tension across the entire surface, making the shelter stable and resistant to sagging in rain or wind.
3. Alternative Configurations for Different Conditions
The beauty of a tarp is its adaptability.
- The "C" Fly or Lean-To: Perfect for starry nights or good weather. Use one or two poles to prop up one side of the tarp, creating a large, open wall facing the view or a campfire. This offers great ventilation but less protection.
- Storm Mode (Low A-Frame): In high winds or heavy rain, lower the pole height significantly and stake the sides much closer to the ground. This creates a smaller, more aerodynamic space that sheds wind and prevents rain from blowing in.
4. Pro Tips and Common Mistakes
- Tension is Key: A saggy tarp is a noisy and inefficient tarp. Keep all lines taut.
- Seam Seal: Before your trip, apply a seam sealer to all stitched seams to ensure complete waterproofness.
- Practice at Home: Don’t try this for the first time in a rainstorm at dusk. Practice in your backyard or a local park.
- The “Porch” Mode: For extra living space, use one pole to lift a corner of the tarp high, creating a door or awning.
By leveraging your trekking poles as the core of your shelter system, you embrace a lighter, more minimalist, and highly rewarding style of camping. It empowers you to adapt your home to the environment, not the other way around.


