


How to repair trekking poles
Trekking poles are built to endure tough conditions, but even the most durable equipment can suffer from wear and tear. Knowing how to perform basic repairs can save you time, money, and the frustration of a malfunctioning pole mid-hike. While severe damage may require professional help, many common issues can be resolved with a little know-how and some simple tools.
Recommended trekking pole purchase link: https://s.click.aliexpress.com/e/_c4M7OWaN
1. Stuck or Seized Sections
This is one of the most frequent problems, often caused by dirt, sand, or impact.
- The Fix: First, try applying a silicone-based lubricant around the joint and let it penetrate for a few minutes. Gently twist the sections while pulling them apart. Avoid using excessive force or tools like pliers, which can crush or scratch the shafts.
- For a Deeper Clean: If lubrication doesn’t work, fully extend the pole and clean the exposed lower section with soapy water and a soft brush. Rinse thoroughly and dry completely before attempting to collapse it again.
2. Worn or Damaged Tips
Tungsten carbide tips eventually wear down smooth, reducing traction.
- The Fix: Replacement tips are inexpensive and widely available. Most tips are screwed on or pressed firmly into place. To remove an old tip, grip it firmly with pliers (protecting the shaft with a cloth) and twist counterclockwise. Screw or press the new tip on securely.
3. Broken or Lost Baskets
Baskets snap off easily when snagged on roots or rocks.
- The Fix: Baskets typically screw onto the shaft just above the tip. Simply unscrew the broken remnant and screw a new one on. Carry a spare in your repair kit.
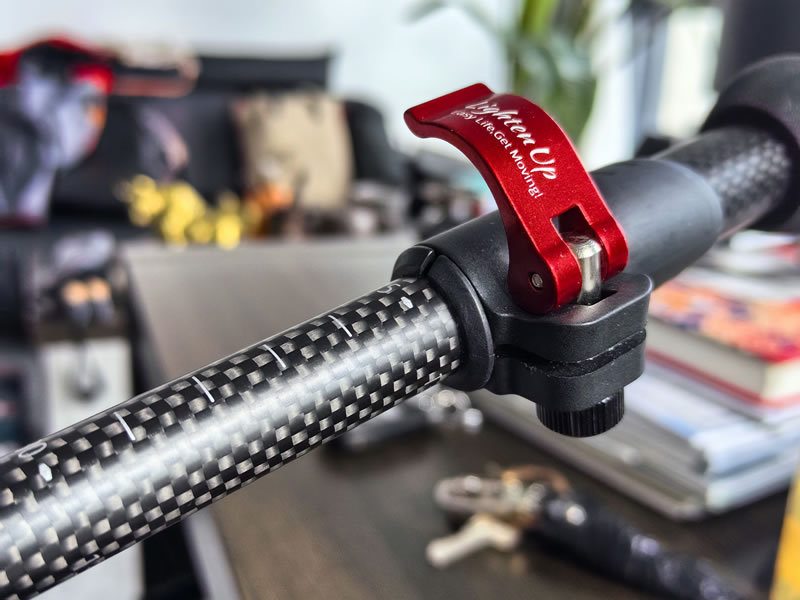
4. Malfunctioning Locks
Locks (flip-levers or twist mechanisms) can fail to secure the pole.
- Flip-Lever Locks: Check for dirt or debris in the cam mechanism. Clean it with a brush and ensure the lever mechanism moves freely. If the lock is stripped or broken, most brands sell specific replacement parts.
- Twist Locks: The most common issue is a worn internal expander. Many manufacturers offer rebuild kits. To replace it, you’ll typically need to remove the grip or a small cap at the top of the section to access and replace the internal mechanism.
5. Damaged Shafts: The Ultimate Test
This is the most serious repair and often dictates if the pole is salvageable.
- Bent Aluminum Shaft: A slight bend can sometimes be carefully straightened, but this weakens the metal. A significant bend usually means the pole needs to be replaced.
- Cracked or Shattered Carbon Fiber: This is not repairable. A damaged carbon fiber shaft can fail catastrophically and should be replaced immediately for safety. Do not attempt to glue or tape it.
6. Worn-Out Grips or Straps
Foam grips can tear, and straps can fray.
- The Fix: Many models allow you to remove the old grip by peeling it off. Replacement grips can be slid on and secured with adhesive. Straps are usually replaceable via a buckle or loop system; consult your manufacturer’s guide.
Essential Trekking Pole Repair Kit
Be prepared on the trail by carrying:
- Replacement tips and baskets
- A multi-tool or small pliers
- A small amount of duct tape or repair tape
- A mini tube of silicone lubricant
Important Note: Always check your pole’s warranty first. Attempting a repair yourself can sometimes void it. For complex issues or high-end poles, contacting the manufacturer is often the best and safest course of action. With proper care and timely repairs, your trekking poles can provide reliable support for thousands of miles.


