DIY Trekking Pole Repair Tips: Fix Common Issues and Save Money
Trekking poles are built for adventure, but that doesn’t make them invincible. From slippery locks to worn-out tips, wear and tear is inevitable. While some damage requires professional help, many common problems have surprisingly simple DIY solutions. Learning to perform these quick fixes yourself will save you money, reduce waste, and ensure you’re never sidelined by faulty gear. Here’s your essential guide to troubleshooting and repairing your trekking poles at home.

The DIY Repair Toolkit
Before you start, assemble a few basic items:
- Screwdrivers (Phillips and flat-head)
- Allen keys (often the same multi-tool you use for camping)
- Adjustable wrench or pliers
- Old toothbrush for cleaning
- Universal trekking pole tip replacement kit (M8 thread is standard)
- Silicone-based lubricant (dry lubricant)
- Replacement parts specific to your brand (e.g., new flick lock assemblies)
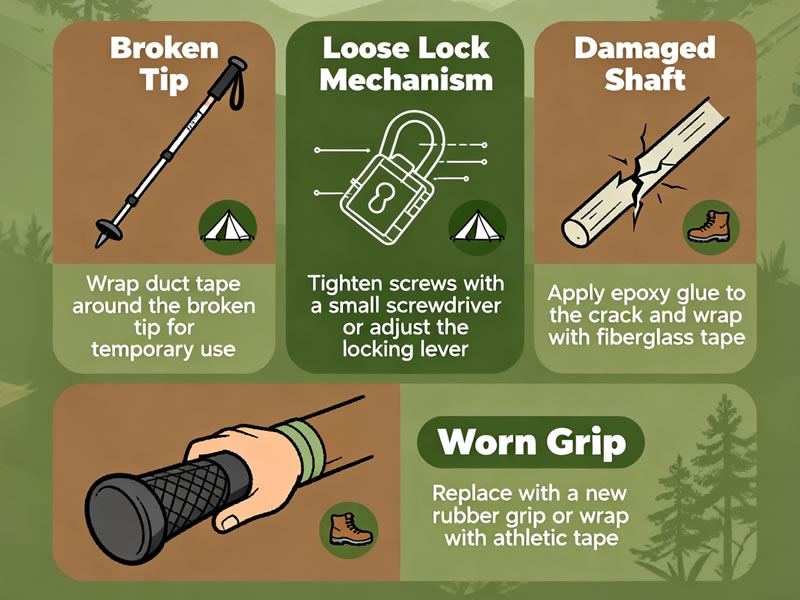
Common Problem #1: Worn or Damaged Tips
The Fix: Replacement
This is the easiest and most common repair.
- Remove the Old Tip: Grip the old carbide tip firmly with a pair of pliers or a vise. Hold the pole shaft and twist it counterclockwise. If it’s stuck, applying a bit of heat from a hairdryer can loosen the adhesive.
- Clean the Threads: Wipe any dirt from the exposed threads on the pole’s end.
- Install the New Tip: Screw the new tip on clockwise by hand until it’s tight. Then, use the pliers to give it one final, firm snugness. Avoid over-tightening to prevent stripping the threads.
Common Problem #2: Loose Flick Locks
The Fix: Adjustment
A pole that collapses under pressure is often just a loose screw.
- Locate the Screw: Find the small tension adjustment screw on the flick lock mechanism.
- Tighten: Using the appropriate screwdriver, turn the screw clockwise a mere quarter-turn.
- Test: Close the lever and test the pole’s stability. Repeat if necessary, but never over-tighten, as this can damage the mechanism.
Common Problem #3: Slipping Twist Locks
The Fix: Deep Cleaning and Lubrication
Slipping is usually caused by internal dirt or lack of lubrication.
- Clean: Fully collapse the pole. Run warm water into the lock mechanism while twisting the collar to flush out grit. Dry thoroughly.
- Lubricate: Apply a tiny amount of silicone-based lubricant to the interface. This is a dry lubricant that won’t attract dirt. Avoid WD-40 as it is a penetrant, not a lubricant.
Common Problem #4: A Bent Aluminum Shaft
The Fix: Careful Straightening (Use Caution!)
- Minor Bends: Place the bent section in a vise padded with soft wood or cloth. Apply gentle, steady pressure to straighten it. Do not do this with carbon fiber poles, as they can crack.
- Major Bends or Carbon Fiber: Replacement is the only safe option. A compromised shaft can fail catastrophically on the trail.
Common Problem #5: Worn or Torn Grips
The Fix: Tape Repair or Replacement
- For small tears in foam grips, a wrap of athletic or grip tape can provide a temporary fix and even enhance comfort.
- For cork grips, a small amount of strong glue can re-adhere loose chunks.
- Many brands sell replacement grips that can be slid on and secured with adhesive.
Common Problem #6: Broken Straps or Baskets
The Fix: Replacement
These parts are designed to be replaceable.
- Straps: Usually attach via a buckle or loop. Thread the new one through exactly like the old one.
- Baskets: Simply unscrew the old one and screw the new one on in its place.
When to Call It: Beyond DIY Repair
Know your limits. Some damage is not repairable at home:
- Cracked or Shattered Carbon Fiber: The structural integrity is compromised. Retire the pole immediately.
- Severely Dented or Kinked Aluminum: This creates a weak point prone to failure.
- Stripped Threads: If a tip or basket won’t screw on securely, the pole’s female threads may be stripped. This often requires a professional fix or a new pole section.
The Golden Rule of Prevention
The best repair is the one you never have to make. Always clean and dry your poles completely after use, especially the internal sections. Store them in a cool, dry place, not collapsed in a damp garage. Regular maintenance is the simplest and most effective DIY tip of all.
By empowering yourself with these repair skills, you extend the life of your gear, deepen your understanding of how it works, and ensure you’re always ready to answer the call of the trail.


