


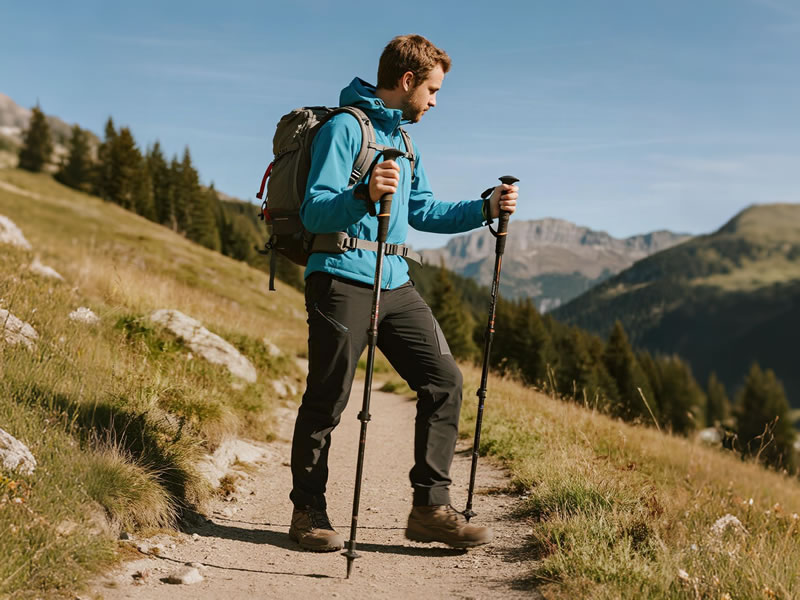
Best Way to Carry Trekking Poles When Not Using?
You’ve mastered using your trekking poles on ascents, descents, and tricky terrain. But what do you do with them when you hit a smooth trail, need your hands free for scrambling, or are taking a long break? Carrying them improperly can be annoying, inefficient, and even hazardous. The best method is to securely stow them on your backpack. Here’s how to do it right.
Recommended trekking pole purchase link: https://s.click.aliexpress.com/e/_c4M7OWaN
Why Proper Storage Matters
An improperly carried pole is more than just a nuisance. It can:
- Snag on branches, causing you to trip or damage gear.
- Dangle and trip you or your hiking partners.
- Fatigue your hands if you carry them, reducing blood flow.
- Get lost or damaged if dropped or dragged.
The core principles of good pole storage are: Security, Accessibility, and Safety.
Method 1: The Vertical Attachment (Most Common & Recommended)
This is the standard, efficient method built into most modern hiking packs.
- Locate the Loops: Find the dedicated trekking pole attachment points on your pack. These are typically elastic loops with a cordlock or a plastic clip located on the sides or front of the pack's shoulder strap area.
- Insert Tip-First: Hold the pole by its grip and slide the tip upward through the bottom loop or attachment point. Many packs have a specific "ice axe attachment" loop at the bottom—this is perfect.
- Secure the Handle: Pull the pole up until the tip is secure. Then, use a higher strap or clip to fasten the pole's handle securely against the pack's body. Many packs have a velcro or snap strap for this.
- Final Check: Ensure the sharp carbide tip is facing backward and upward, away from you and others. The pole should be snug against the pack, not bouncing or swinging.
Benefits: Poles are quickly accessible, securely fastened, and out of the way of your arms and legs.
Method 2: The Horizontal Carry (For Long Stretches or Scrambling)
When you need your arms completely free for extended periods, like on a technical scramble, this is the best method.
- Collapse Your Poles: Shorten them to their most compact length.
- Stow at the Bottom: Most packs have horizontal compression straps running across the bottom of the main compartment. Slide the collapsed poles under these straps.
- Secure Tightly: Tighten the compression straps so the poles are held firmly against the pack. You can also use side compression straps to lash them in place.
Benefits: Completely hands-free, low-profile, and prevents snagging in tight spaces. Ideal for airline travel or busy trails.
Method 3: The Front Carry (Quick Access)
Some ultra-light and fastpacking packs feature front-mounted pole attachments.
- This involves using shoulder strap loops or bungees to hold the poles horizontally across your chest.
- Benefit: Extremely quick to deploy and stow without taking your pack off.
- Drawback: Can feel cumbersome and interfere with arm movement for some hikers.
What NOT To Do: Common Mistakes
- Dangling from Wrist Straps: This is a major tripping hazard for you and everyone behind you. It also constantly bangs the poles against your legs.
- Holding in Hand: Your hands need to swing naturally for balance and blood flow. Gripping poles unnecessarily is fatiguing.
- Unsecured on Pack: Simply looping them through a strap without fastening the top will result in them falling out.
Pro Tip: For Quick, Frequent Stops
If you just need a minute to check your phone or a map, don't fully stow them. Instead, plant both poles firmly in the ground in front of you and lean forward, resting your chest or hands on the handles. This creates a stable "tripod" stance that is far less fatiguing than standing upright with a heavy pack.
Conclusion
The "best" way is the one that keeps your poles secure, accessible, and safe for the specific situation. For most hikers, the vertical attachment on the pack is the perfect balance of these factors. By properly stowing your poles, you ensure they are ready when you need them most, making your hike safer and more enjoyable from start to finish.


